If you’ve been in this business for a while, you know that mounting solar panels on a roof is far from as simple as “driving a few screws.” It’s a complex interplay of structural mechanics, electrical safety, and waterproofing.
This article will break down and explain every critical step before, during, and after installation—from what tools you should pack in your van, to how to handle different roof types, to ensuring the system stays secure for 25 years. No fluff, no regional policy discussions—just practical, real-world techniques.
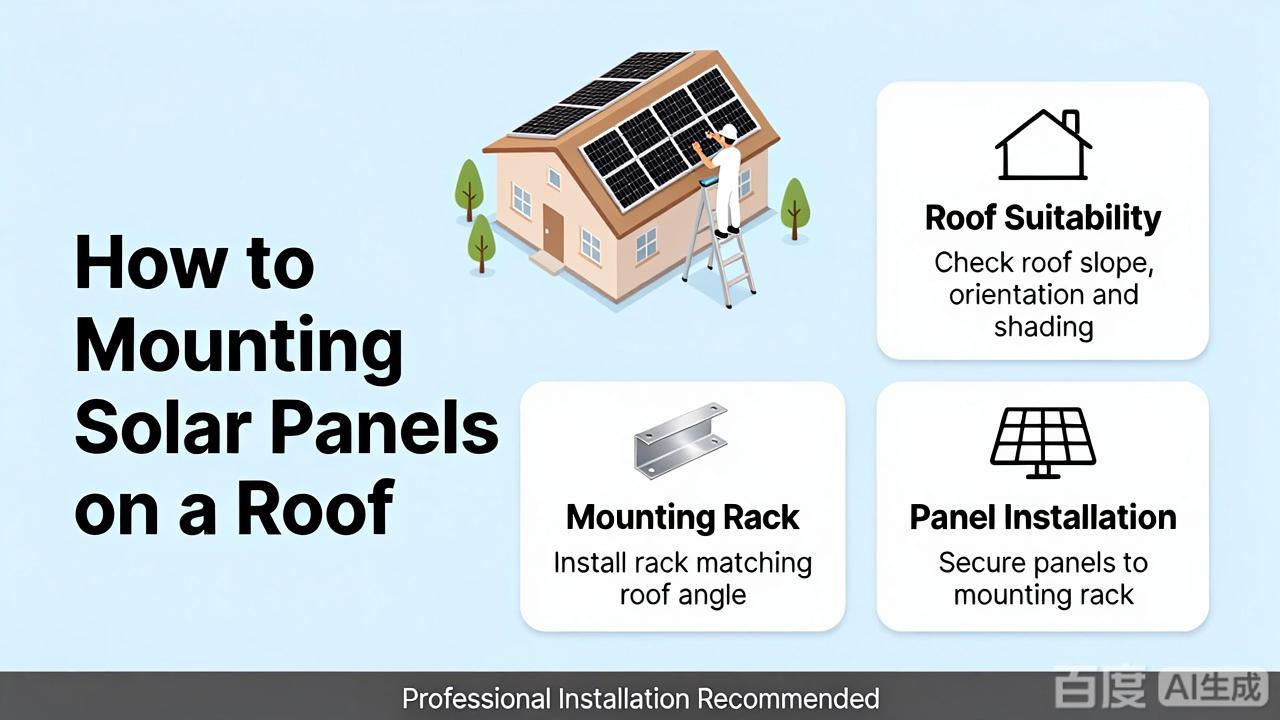
1. Pre-Installation Preparation:
Don’t Rush to Grab the Drill—Do These Three Things First
Before any tools touch the roof, you must complete three mandatory checks.
First, verify the structural load capacity. You’ll need to obtain the original structural drawings of the roof to confirm the purlin spacing, rafter cross-sectional dimensions, and the maximum allowable uniformly distributed load. If the drawings are lost, measure the spacing on-site and use a probe or small endoscope to inspect the condition of the wooden beams.
Second, check the weather window. Do not work on the roof during rain, snow, or on days when wind speeds exceed 10 m/s. Once the waterproofing layer is breached, rainwater intrusion can ruin the entire interior finish.
Third, take inventory of materials and perform a test assembly. Lay out all rails, clamps, grounding plates, and lock washers on the ground. Pre-assemble a row of brackets according to the installation diagram to confirm that the bolt lengths match the corrugation height. At the same time, prepare the specialized suction cups, laser level, and torque wrench—the torque wrench must be within its calibration validity period. Finally, take photos documenting the current condition of the roof, including existing cracks, repair marks, and the locations of exhaust pipes. These photos serve as both a basis for construction and evidence in the event of future disputes.
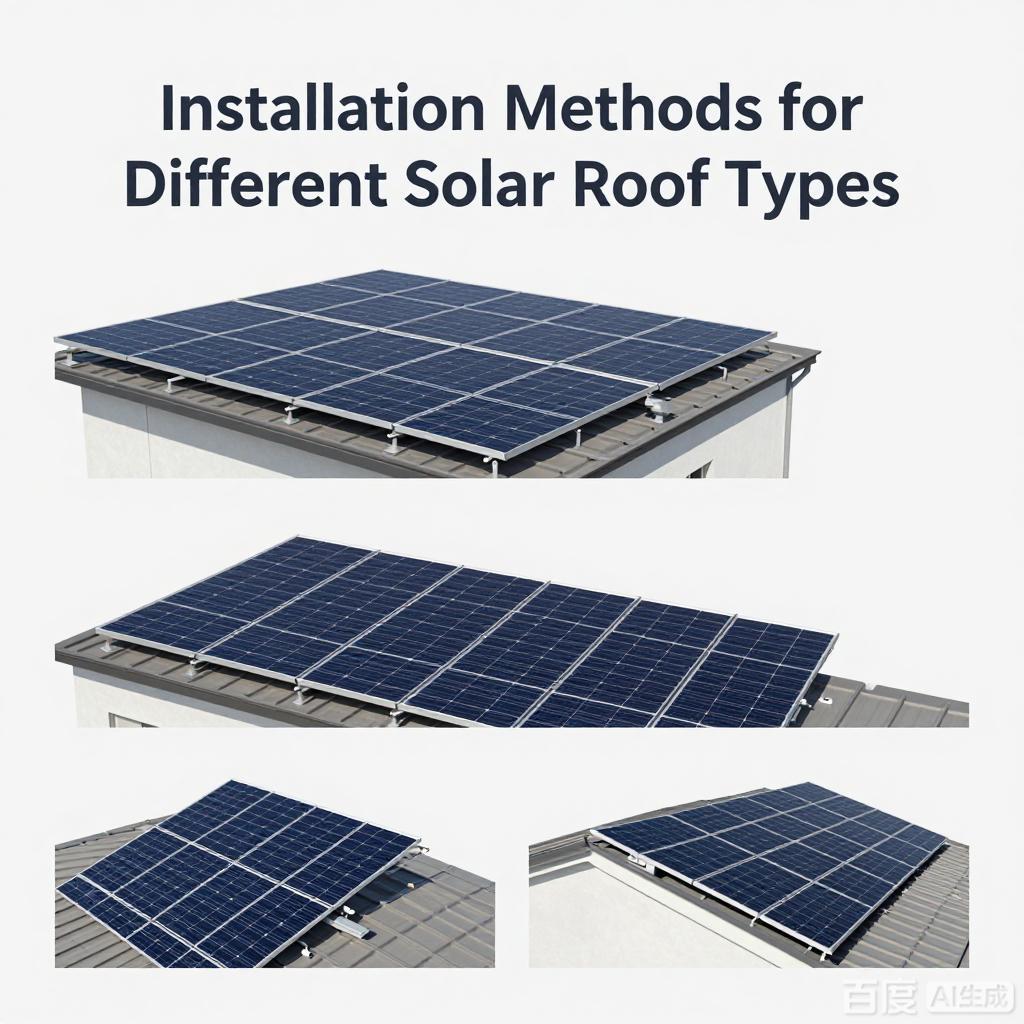
2. Installation Methods for Different Roof Types
No two roofs use exactly the same fastening method; you must select the correct fasteners based on the roofing material.
Asphalt Shingle Roofs: This is the most common roof type in North America. The core method involves using shingle brackets or L-brackets to secure the brackets directly to the rafters. The key step is to gently pry up the shingle with a pry bar, slide the bracket under the shingle, and drive a stainless steel square-head screw through the shingle and the underlayment into the rafter to a depth of at least 40 mm. Then, apply butyl sealant around the perimeter of the bracket and press the shingle back into place. Note that the screw must avoid the shingle lap joints; otherwise, the likelihood of leaks increases dramatically.
Concrete or Clay Tile Roofs: These roofs are brittle and hard; under no circumstances should you drill directly into the tiles. The standard procedure is to remove some tiles at the installation location, secure an extended hook to the structural layer, and then cut the tiles above the hook so that the tiles cover the edges of the hook’s base. Use a water-cooled diamond saw blade when cutting to minimize dust and chipping. All cut edges must be sealed with a double layer of waterproof tape and sealant to ensure that rainwater does not seep into the cut when it runs down the tile surface.
Standing Seam Metal Roofing: This is the easiest scenario to handle, as no drilling is required. Use specialized metal roofing clamps, clamped on both sides of the standing seam, to transfer the load via mechanical interlocking. The clamps are lined with rubber gaskets to prevent galvanic corrosion. However, note that the clamping torque must be applied strictly according to the manufacturer’s specifications; if too loose, the clamps may slip, and if too tight, they may crush the standing seam profile.
Flat or Low-Slope Roofs: Use a ballast-type support system, securing the support bases with concrete blocks or precast ballast blocks, without penetrating the waterproofing layer at all. However, the ballast weight is substantial, typically adding a load of 60–80 kg per square meter, so a structural review must be performed again. If a penetrating mounting method is used, the screws must be encased in specialized waterproof sleeves (EPDM or TPO waterproof caps), and polyurethane sealant must be injected at the bottom of the sleeves.
Regardless of the roof type, once the rails are installed, they must be calibrated using a laser level, with flatness deviation controlled within ±2 mm per meter; otherwise, there is a risk of hidden cracks in the modules.
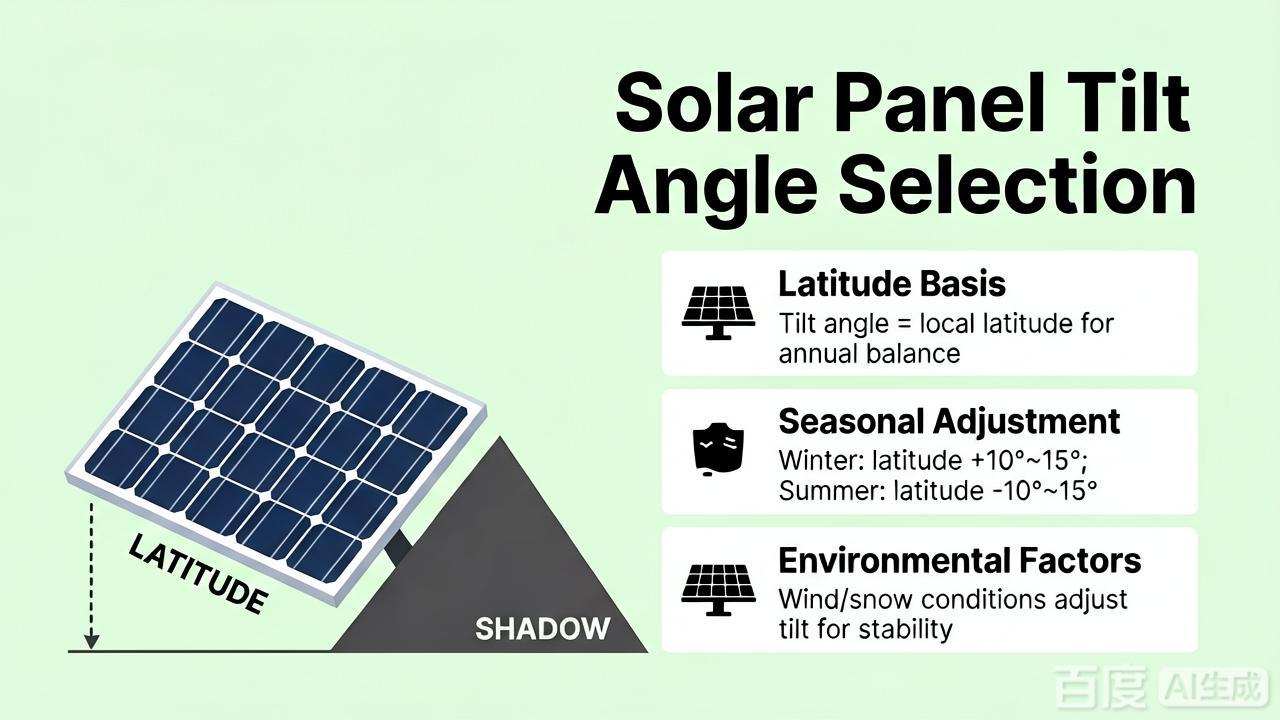
3. Selecting the Tilt Angle for Solar Panels
Tilt angle design isn’t simply a matter of arbitrarily setting it to 30° or 45°. You must balance three variables: total annual power generation, peak summer output, and snow-shedding capability in winter. If the roof’s natural slope is between 15° and 40°, the panels are typically installed directly along the slope, with the mounting rails parallel to the roof surface—a solution that is both aesthetically pleasing and material-efficient. However, for flat roofs or those with a slope less than 10°, adjustable mounts are needed to elevate the modules. The initial tilt angle is generally calculated by multiplying the local latitude by 0.76 to 0.95, followed by fine-tuning based on wind loads.
The key point is: the steeper the tilt angle, the greater the wind resistance, and the higher the tensile strength required for the mounting brackets and rafters. Therefore, in windy areas, we often limit the tilt angle to below 20°, sacrificing a small amount of winter power generation in exchange for structural safety. Additionally, if you’re in an area with frequent snowfall, set the tilt angle to at least 30° so that snow can slide off naturally, preventing snow accumulation from collapsing the mounting system or causing prolonged shading. Finally, don’t forget to use PVsyst or Helioscope to perform hourly simulations, comparing annual power generation and peak loads at three different tilt angles, and select the angle where “the loss does not exceed 2% but the structural cost is lowest”—this is engineering thinking, not textbook theory.
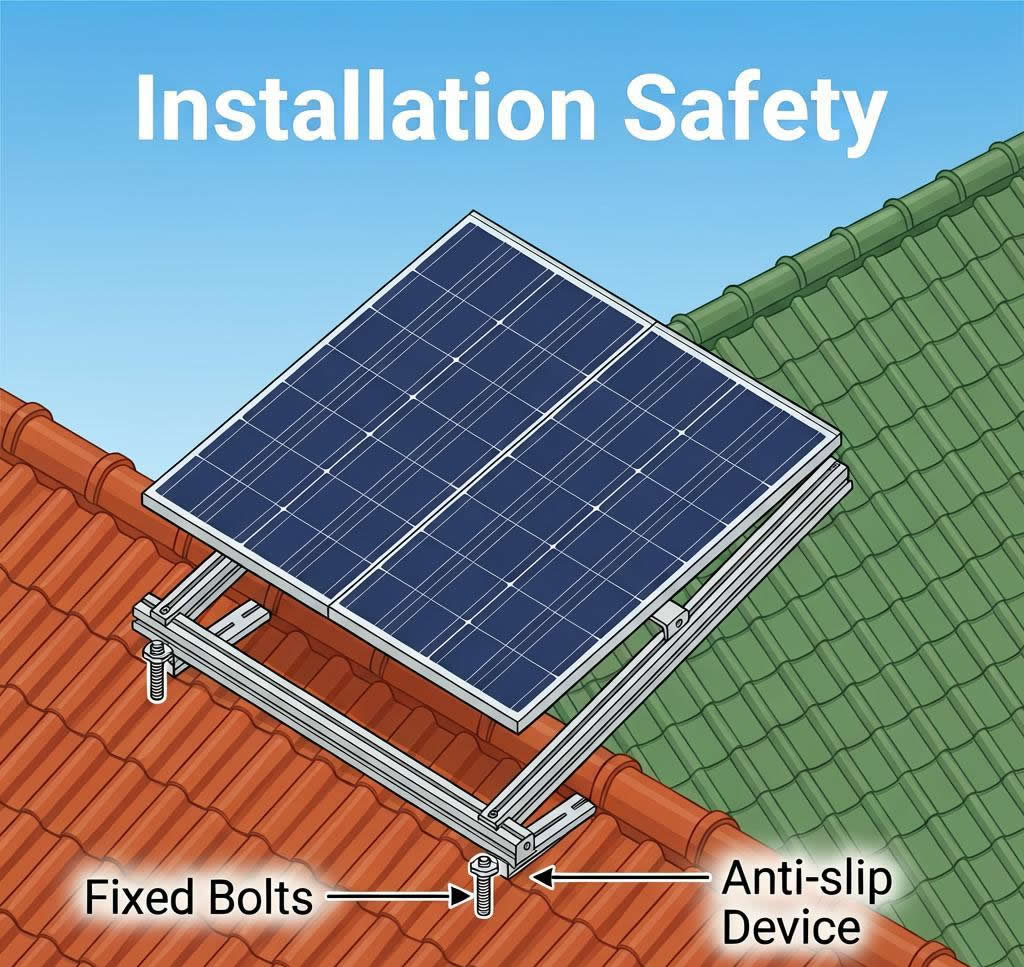
4. Construction Safety: This Isn’t Just a Provision on Paper—It’s a Lifesaving Bottom Line
Everyone working on the roof must wear a full-body safety harness equipped with a dual-hook shock-absorbing lanyard. The lanyard’s anchor point must be an independent anchor; it must not be tied to a chimney or vent pipe. When working on sloped roofs, use anti-slip roof mats or temporary footboards to prevent slipping on the roof tiles. All power tools must be plugged into a GFCI (ground-fault circuit interrupter) outlet, and extension cords must not cross walkways. Tools and materials must be passed up using dedicated tool bags and lanyards; throwing items upward is strictly prohibited. Conduct a 5-minute safety briefing before starting work each day, and check the weather forecast and wind conditions. When gusts exceed Force 8, immediately stop work at heights and secure any unsecured tracks with heavy objects.
Additionally, when routing cables, DC cables must be run through metal flexible conduit or PVC cable trays and secured to the side of the guide rails with cable ties. Cables must not be left hanging freely or come into contact with the sharp edges of roof tiles. The bending radius of all cables must not be less than six times their outer diameter; otherwise, the internal copper core is prone to breaking.
5. Maintenance: Twice a Year—A Small Investment for Big Savings
Completion of installation is not the end; rather, it marks the beginning of the maintenance cycle. It is recommended to conduct a comprehensive inspection once in late spring and once in early fall each year. The inspection should include: a visual check of all clamps and screws for rust or looseness, and a random inspection of 5% of the connection points using a torque wrench; check all sealants for cracking or peeling, and reapply butyl rubber sealant; clean bird droppings, leaves, and dust from the module surfaces by wiping with clean water and a soft cloth—do not use a high-pressure water gun, as the water pressure may damage the junction box gasket; Check grounding continuity by measuring the resistance between the module frame and the grounding busbar with a multimeter; the reading should be less than 0.1 Ω. At the same time, log in to the inverter monitoring platform to review the current and voltage data for each module string. If a string’s readings are more than 5% lower than those of an adjacent string, this may indicate localized shading or oxidized connections, requiring on-site investigation.
All maintenance records must be archived, including the date, weather conditions, part numbers of replaced components, and the operator’s signature. These records not only aid in predicting potential failures but are also essential documentation for roof warranty claims.
6. Summary: Four Key Metrics for a Successful Installation
In retrospect, how to successful mounting solar panels on a roof ultimately boils down to four key metrics: a structural safety factor greater than 1.5; a waterproofing layer that shows no leaks after a 2-hour water spray test; electrical grounding resistance less than 0.1 Ω; and module flatness deviation less than 2 mm. As long as these four metrics are met, your system will weather hurricanes, blizzards, and the intense heat of summer without issue. Conversely, failure to meet even one of these standards will inevitably lead to problems within the next 3 to 5 years, such as leaks, a decline in power generation, or corrosion of the mounting brackets. Therefore, do not skip any steps to save time—especially sealing and torque checks.
7. Why Choose Yiteng – Explained in Two Sentences
In the field of mounting systems and installation accessories, Yiteng provides end-to-end solutions—from customized rails and pre-assembled clamps to torque-marked sleeves. All components have undergone salt spray testing and fatigue load validation. We’re not just here to sell products; we’re here to help you minimize on-site rework and ensure that every solar panel installation on a roof passes inspection on the first try.
8. FAQ – The Most Common On-Site Questions
Q1: If I find a crack in a roof tile after installation, does it need to be replaced?
Yes. Any visible crack will widen due to thermal expansion and contraction. It must be replaced with a tile of the same color, and a waterproof underlayment must be installed underneath.
Q2: How should the rail spacing be determined?
Based on module dimensions and local snow load calculations, the horizontal spacing should generally not exceed 1/4 of the module’s length. The vertical spacing is determined by the actual layout of the structural rafters but must not exceed 1.8 meters.
Q3: How long does it take for the sealant to age?
High-quality butyl sealant begins to harden noticeably after about 8 to 10 years of UV exposure; therefore, we recommend a full reapplication during the 8th-year inspection.
Q4: Can I install the system myself?
Technically, yes, but we strongly advise against having non-professional teams perform the work. Losses resulting from structural calculation errors or improper waterproofing far exceed the cost of hiring a professional EPC company.
Q5: How do I determine if the roof needs repairs first?
If, in the area where installation is planned, more than 5% of the total area shows tiles that are翘起 (curled up), cracked, or waterproofing membranes that have bubbled, roof repairs must be completed before installation can proceed. Mounting solar panels on a roof on an unstable substrate is pointless.
Q6: What should I do if power generation is lower than expected after installation?
First, check for shading (such as from chimneys, antennas, or neighboring trees). Next, use an I-V curve tester to inspect each string individually. Finally, verify that the inverter’s MPPT tracking is functioning properly. Ninety percent of power generation issues stem from shading or wiring errors, not the modules themselves.


