If you’re planning to install solar panels on your roof, this guide will walk you through every step in easy-to-understand language so you can follow along step by step. How are solar panels mounted to the roof below:
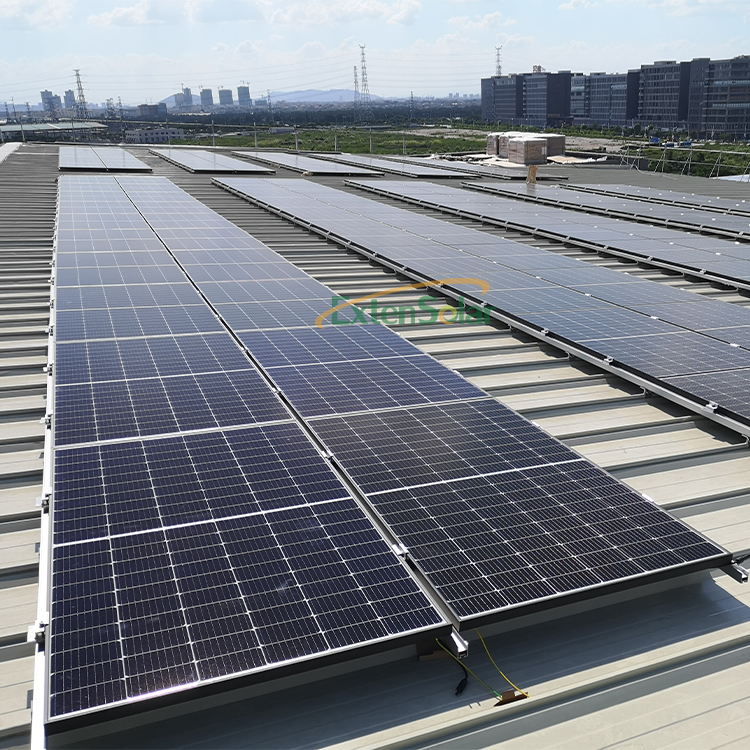 Step 1: Preliminary Inspection and Preparation
 Before start put in the panels, you got to do some base work to stop later trouble. First, look at your roof's shape. Check how old it is and if the build is strong. Usually, if roof more than 20 years, better fix or change it before put panels. If not, roof may break in few years, make you take off and put back panels—that cost big money and waste. Also need check roof slope: most home sun systems work best on angles from 15 to 40 degrees, this angle let panels get most sun. If roof too steep or too flat, you got to change the mount bracket angle to fit. Next, check roof's weight hold power. Different roof types hold different weight: concrete roofs can usually hold over 200 kilos per square meter, good for normal sun systems; for wood frame roofs, need check beam strength and make them stronger before if not enough; for tile roofs, look at tiles for cracks or loose ones, and change bad ones first. Last, look at possible shade. Watch roof all day to see if sun blocked by near trees, other buildings, or chimneys. If shade happen, either cut branches or move panel spot—shade really cut power making, so fix this before.
Step 2: Design and Material Preparation After the first check is done, go ahead with the design and get the stuff ready. First part is the system design. You got to figure out how many solar panels you need: a normal 400-watt panel takes up about 1.7 square meters. You can find the total power needed from your monthly electric use. For a home that uses 300 kWh each month, it need a system of about 3 to 3.5 kilowatts, that mean 8 to 9 400-watt panels. Next, plan where to put the solar panels on the roof. Usually, we line them up along the roof's slope, leave enough room for fixing. Make sure there is at least a 30-centimeter space between each row to help with future cleaning and checks. Then, pick all the needed materials: the three big parts are the solar panels, mounting brackets, and the inverter. Choose things that meet world rules, have good quality, and last over 25 years. Mounting brackets are often made from aluminum alloy or galvanized steel. These stuff don't rust and can handle outdoor wind and rain, so they last a long time.
Step 3: Installation Process Once all get ready, you can start the real put-in. First step is put on the bracket bases. First, find the right spots on roof and mark where to drill. When drilling, be careful not break roof's water-stop layer. After drill holes, fix the base down, then do water-stop on drilled spots—mostly by put water-stop glue and add water-stop rings to stop leaks when rain come. Second step is put together the mount system. Fix the mount rails to base, make them level and line up, then use a level tool to check the angle and flat of whole thing, make sure each sun panel is put at right angle. Third step is put on the sun panels. Lift panels one by one up to roof, be gentle to not break the hard glass. Fix each panel to rails, make sure all fix screws are tight to stop panels from blow off by big wind. Leave a little space between next panels for heat stretch and shrink and stop damage. Step 4 is wire work. Connect wires between sun panels, then connect main wire to the power box. When wire, don't mix up plus and minus ends. Wrap all join spots with tape to stop electric leak. Fix all wires to mount brackets to stop them swing and wear through the wrap. Step 5: Water-stop Check. After whole system is put, check all drill holes to make sure they are good sealed. You can also pour some water on area to test for leaks; if any found, fix them right away.
Step 4: Grid Connection, Commissioning, and Acceptance After install, do check and test. First, do insulation test before wire. Use test tool to measure circuit's insulation resistance. Only after see no short or leak, you connect to grid. Next, start inverter and set numbers. Inverter will auto watch system's work state. Watch system for some hours to make sure power make normal and voltage and current numbers are right. Then, ask grid operator for ok. After ok, you can connect to grid and start make power. When system work, use inverter's app to see daily power make and watch system's state.
Post-Installation Maintenance Guidelines After sun panels put on, daily keep up is easy—just do these steps:
Do clean panels: normal time is six month to one year. If your place have dust or not much rain, do clean more often. Only use water for clean; no hard brush or chemical cleaner, so not make glass get scratch.
Do check once year: screws tight, wiring no bad, mounts not rust. Fix any problem quick.
Clear stuff: If leaf or branch fall on the panels, take them off quick to stop block sun.
Do them steps above, your sun power panel system will work good for many years, keep give you clean electricity.


